Tenda Router Configuration – All You Need to Know.
in 2021, we live in the digital era, and the uses of the internet became important for our daily lives. To cater to this need, we all need a top-quality router.
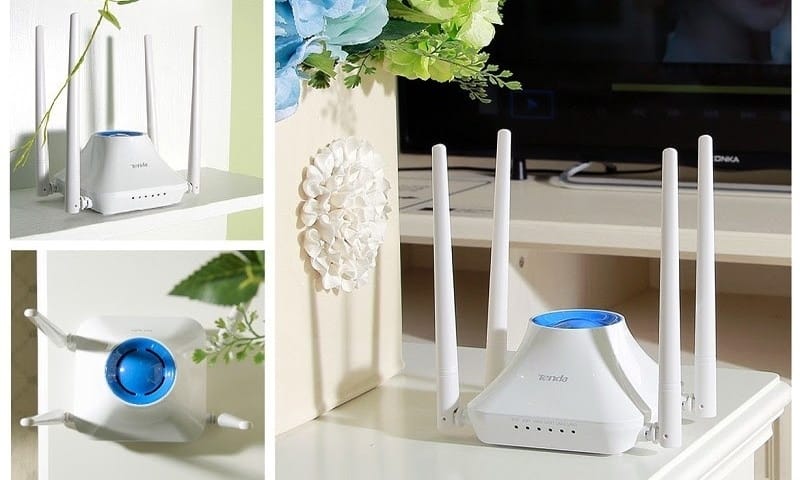
Tenda wireless router has become a name that serves its users with extraordinary wifi speed. Due to some causes, the majority of the routers have advanced features.
Tenda router configuration is well known to its customers. There are a sheer number of advanced features and settings offered by Tenda wifi routers.
In order to enjoy those features, one needs to go through the Tenda router login and Tenda wireless setup.
You need to complete the Tenda router setup to be able to see the difference at your place in terms of the range and connectivity of your devices.
Since it is very difficult to gather the information regarding Tenda wifi router setup across the internet.
We did the difficult task and are here to help you with: 192.168.1.1 Tenda log in, Tenda wireless setup, and Tenda firmware update.
We will also tell you how you can troubleshoot the issues if your Tenda router not working.
Let’s however, begin to discuss Tenda Router Configuration.
11 Best WiFi Routers in India 2021
Table of Contents
Tenda Router Configuration
1. Tenda Router Login
Before you can begin to work on the Tenda default login page, you need to perform some steps to ensure a smooth login.
![]() Unbox all the components that come with Tenda wireless router in the box.
Unbox all the components that come with Tenda wireless router in the box.![]() Get the Ethernet cable and connect with the WAN port that is in the Tenda router.
Get the Ethernet cable and connect with the WAN port that is in the Tenda router.![]() By using another Ethernet cable, connect your computer to the yellow LAN port of the Tenda router.
By using another Ethernet cable, connect your computer to the yellow LAN port of the Tenda router.![]() Before, proceeding to the next steps, see all the LED lights on the Tenda router then connect with it.
Before, proceeding to the next steps, see all the LED lights on the Tenda router then connect with it. ![]() Also check whether the WLAN light is on or blinking in the router.
Also check whether the WLAN light is on or blinking in the router.
2. How to Connect Tenda Router?
Before you try to complete the Tenda wifi router setup, you will first have to finish the Tenda router login. It is because to access the Tenda home page where all the settings can be configured and managed.
After making the physical connections, make sure you recall the Tenda router login password and username, to begin with, its setup process.
Follow the steps for the 192.168.1.1 Tenda log in and configure your router.
![]() For the Tenda router setup, first of all, turn on your computer.
For the Tenda router setup, first of all, turn on your computer.![]() Open the chrome & other browsers then enter the default IP address of the Tenda router in the address bar which is 192.168.1.1.
Open the chrome & other browsers then enter the default IP address of the Tenda router in the address bar which is 192.168.1.1.![]() When log in appears, enter the default username & password. Enter admin in the username and again enter ‘admin’ as the password.
When log in appears, enter the default username & password. Enter admin in the username and again enter ‘admin’ as the password.![]() Click on the ‘Ok’ button and get access to the Tenda home page where you can customize the settings.
Click on the ‘Ok’ button and get access to the Tenda home page where you can customize the settings.![]() Once you are logged in using the Tenda router login password, click on the ‘WLAN’ settings and then click on the ‘basic’ settings.
Once you are logged in using the Tenda router login password, click on the ‘WLAN’ settings and then click on the ‘basic’ settings.![]() Now, click on the ‘Enable wireless’ and enter the new wireless name (SSID) of your router. After changing the SSID click on ‘OK’.
Now, click on the ‘Enable wireless’ and enter the new wireless name (SSID) of your router. After changing the SSID click on ‘OK’.![]() Click on the ‘Security settings and change the mode of security. Also, change the password of your wireless network of the router. After making the changes, click ‘Ok’.
Click on the ‘Security settings and change the mode of security. Also, change the password of your wireless network of the router. After making the changes, click ‘Ok’.![]() Next, click on ‘WPS settings’ to click on the disable option.
Next, click on ‘WPS settings’ to click on the disable option.![]() Click on the ‘System Tools’ and change the password for your router.
Click on the ‘System Tools’ and change the password for your router.![]() Finally, the Tenda wifi router setup is now completed.
Finally, the Tenda wifi router setup is now completed.
3. Tenda Firmware Update
Regular updates are available from time to time to overcome any threat or to improve the performance of the network itself.
Tenda firmware update eliminates the bugs which might be present in the existing firmware.
To update the firmware of the Tenda wireless router, you need to sign in to the router using the Tenda router login password.
Under ‘advanced settings’ you will be able to update the firmware of your Tenda router. You would require accessing the 192.168.1.1 Tenda log in to make any changes.
4. Tenda Router Reset
If you are facing errors with your router, or if your Tenda router is not working due to any miscellaneous reasons. Then you can go for a Tenda router reset.
Press the ‘Reset’ button for around 7-10 seconds then lose the button after a few seconds and wait for the router to boot up.
Frequently Asked Question/ Technical Support
What can I do if I forget the Tenda router login password to enter the web-based utility?
In case, you cannot recall the login password of the Tenda router press the ‘Reset’ button for about 7 seconds to restore the router to default settings.
How to fix the slow or unstable wireless network?
The placement of your router can affect the coverage area and strength of your signal. For the best signal, place your router:
- Away from metal desks or metal walls.
- Away from household appliances that may cause interference.
- Elevate your router away from floors.
What to do if you are unable to access the Tenda wireless setup page?
The troubleshooting tips given below will help you to resolve the issues.
- Check the hardware connection and LED status on your router.
- Be aware that the computer has obtained a proper IP address.
- Change another web browser.
- Power cycle the Tenda router.
- Update the driver of your computer.
What should I do if I cannot access the internet on my Tenda router?
If you are not able to access the internet then it is important to change the MTU size. For changing the MTU size, you just go to the WAN settings and change the MTU value from default 1480 to 1450 or 1400.
These FAQs will clear all the Tenda routers issues.
Hope you like this article and if you face any issues then comment to us. We will solve the issues.
Related Post: